


Blow molding forms hollow plastic products by expanding a heated plastic tube or preform against a mold with compressed air. Bottles are familiar examples, but the process also serves containers and technical hollow parts. Choosing the right method starts with the product’s shape, material, neck or connection features, and expected production volume.
The three common routes are extrusion blow molding, injection blow molding, and injection stretch blow molding. Their preform preparation, tooling, and finishing requirements differ, so they should be evaluated separately.
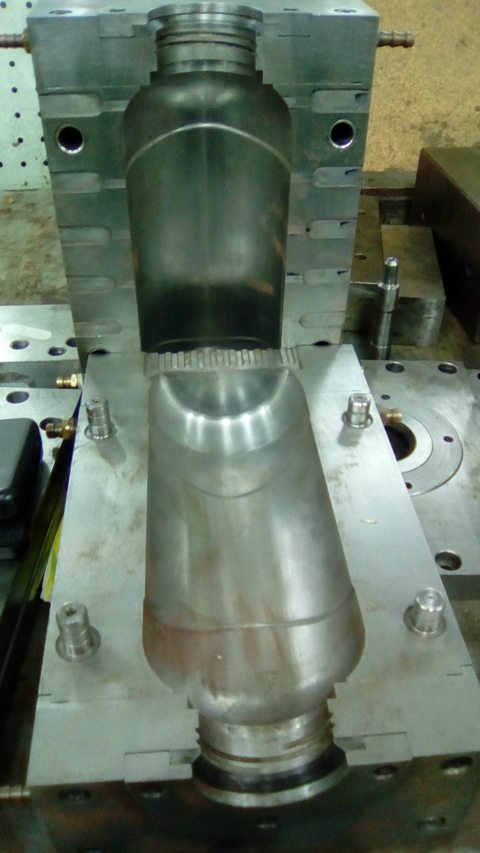
How the three processes work
Extrusion blow molding: An extruder produces a molten hollow tube called a parison. A split mold closes around it, pinching selected areas together. Air expands the parison against the cavity, and the part cools before removal. Excess material at pinch-off areas generally needs trimming. This approach can accommodate hollow handles and a broad range of container shapes.
Injection blow molding: Plastic is first injected around a core rod to form a preform, including its neck. The hot preform is transferred to a blow station, inflated, cooled, and removed. A conventional rotary system carries the preform between stations on its core rod; a separate reheating stage is not inherent to this process. The injection-formed neck is useful where closure fit is important. Jomar’s process overview illustrates this sequence.
Injection stretch blow molding: An injection-molded preform is stretched lengthwise and expanded with air. The stretching and blowing sequence develops the container body and, with suitable materials and conditions, molecular orientation. In a one-step system, preform molding and bottle forming occur within one machine. Two-step production uses separately molded preforms that are reheated before blowing. Nissei ASB’s one-step explanation shows how retained preform heat and conditioning support this route.
Benefits and practical limits
A hollow body can provide useful volume with relatively little material. Integrating the body into one molded component can also avoid assembling separate shells. However, tooling cost, throughput, and finishing effort depend on the selected process and product. They are not automatically lower than every alternative.
Blow molding is also capable of more than simple bottle shapes. Bekum’s technical-part applications include specialized hollow products. Nevertheless, shape freedom has limits: internal detail, connection geometry, wall distribution, and the ability to release the part from the mold all need review.
Design around material distribution
Uniform wall thickness is a development target rather than a guaranteed outcome. In extrusion blow molding, the parison stretches different distances across the cavity. Corners can become thinner than nearby faces. Parison design, die adjustment, and processing conditions influence that distribution, as described in LyondellBasell’s technical guide.
For design review, identify minimum acceptable wall sections and the areas carrying load. Review the neck, base, parting line, pinch-off regions, handle transitions, and any trimmed openings. For stretch-blown containers, consider the preform and finished bottle together rather than specifying the outside shape alone.
Check the finished part
Evaluate the minimum wall thickness, mating connections, and functional performance of the finished product. Leakage, drop resistance, and load testing may be relevant depending on its use. Process selection should follow these requirements as well as the desired shape.